Let’s be real, recording studio time is expensive. Like, “I could’ve bought groceries for a month” expensive. And if you’re a gospel artist trying to share your ministry through music, constantly paying for studio sessions can drain your wallet faster than you can say “one more take.”

But here’s the good news: in 2026, you don’t need a fancy studio to record professional-sounding gospel music. With the right equipment and a bit of creativity, you can turn your bedroom, living room, or even that spare room full of random stuff into your own recording space.
So how do you get started without breaking the bank? Let me walk you through it.
What You Actually Need (And What You Don’t)
First, let’s clear something up: you don’t need every piece of equipment you see in professional studios. Those massive mixing boards and walls of gear? Cool to look at, but not necessary when you’re just starting out.
Here’s what you actually need to get going.
A Computer or Laptop: You probably already have this. It doesn’t need to be brand new or top-of-the-line. As long as it can run recording software without freezing every five minutes, you’re good to go.
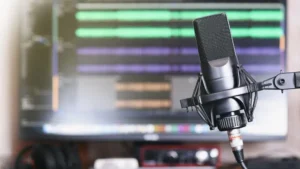
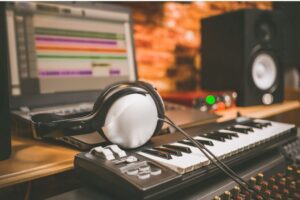
A Microphone: This is where your money should go first because it directly affects your sound quality. For gospel vocals, you have two main options. USB microphones plug directly into your computer and are super beginner-friendly. XLR microphones require an audio interface (we’ll get to that) but give you more control and better sound quality as you grow.
Read: Microphone Etiquette: What Gospel Singers Should Know
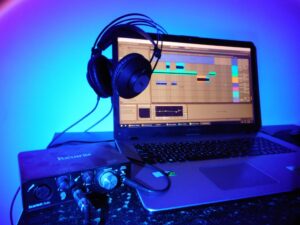
An Audio Interface: If you go with an XLR mic, you’ll need this to connect it to your computer. Think of it as a bridge between your microphone and your laptop. Don’t cheap out here—a poor-quality interface creates problems that you can’t fix later, no matter how much you edit.
Headphones: You need closed-back headphones to hear what you’re recording without sound leaking back into the mic.
Your Room Matters More Than You Think
Here’s something nobody tells beginners: your recording space affects your sound just as much as your microphone.
Walk around your house and listen. Can you hear traffic? A noisy AC unit? Your neighbor’s dog? Pick the quietest spot possible. Bedrooms often work better than living rooms because they have softer materials like beds, curtains, clothes that naturally absorb sound and reduce echo.
Avoid rooms with lots of glass, tiles, or empty walls. These make your voice sound “roomy” and echoey, which sounds amateur.
Don’t have the budget for fancy acoustic foam? Get creative. Hang thick blankets or curtains on the walls. Add a rug to the floor. Even a bookshelf filled with books helps break up sound reflections.
Start Small, Upgrade Smart
You don’t need to buy everything at once. Start with the basics: a decent mic, an interface (if needed), headphones, and free software. Record a few songs. Learn your equipment. Figure out what’s actually limiting your sound.
The truth is, countless gospel songs have been recorded on budget setups. Your talent and message matter more than your equipment list. So stop waiting for the “perfect” setup and start recording.